
- Unzip the download and upload everything to your domain's folder, or a subfolder.
- Open
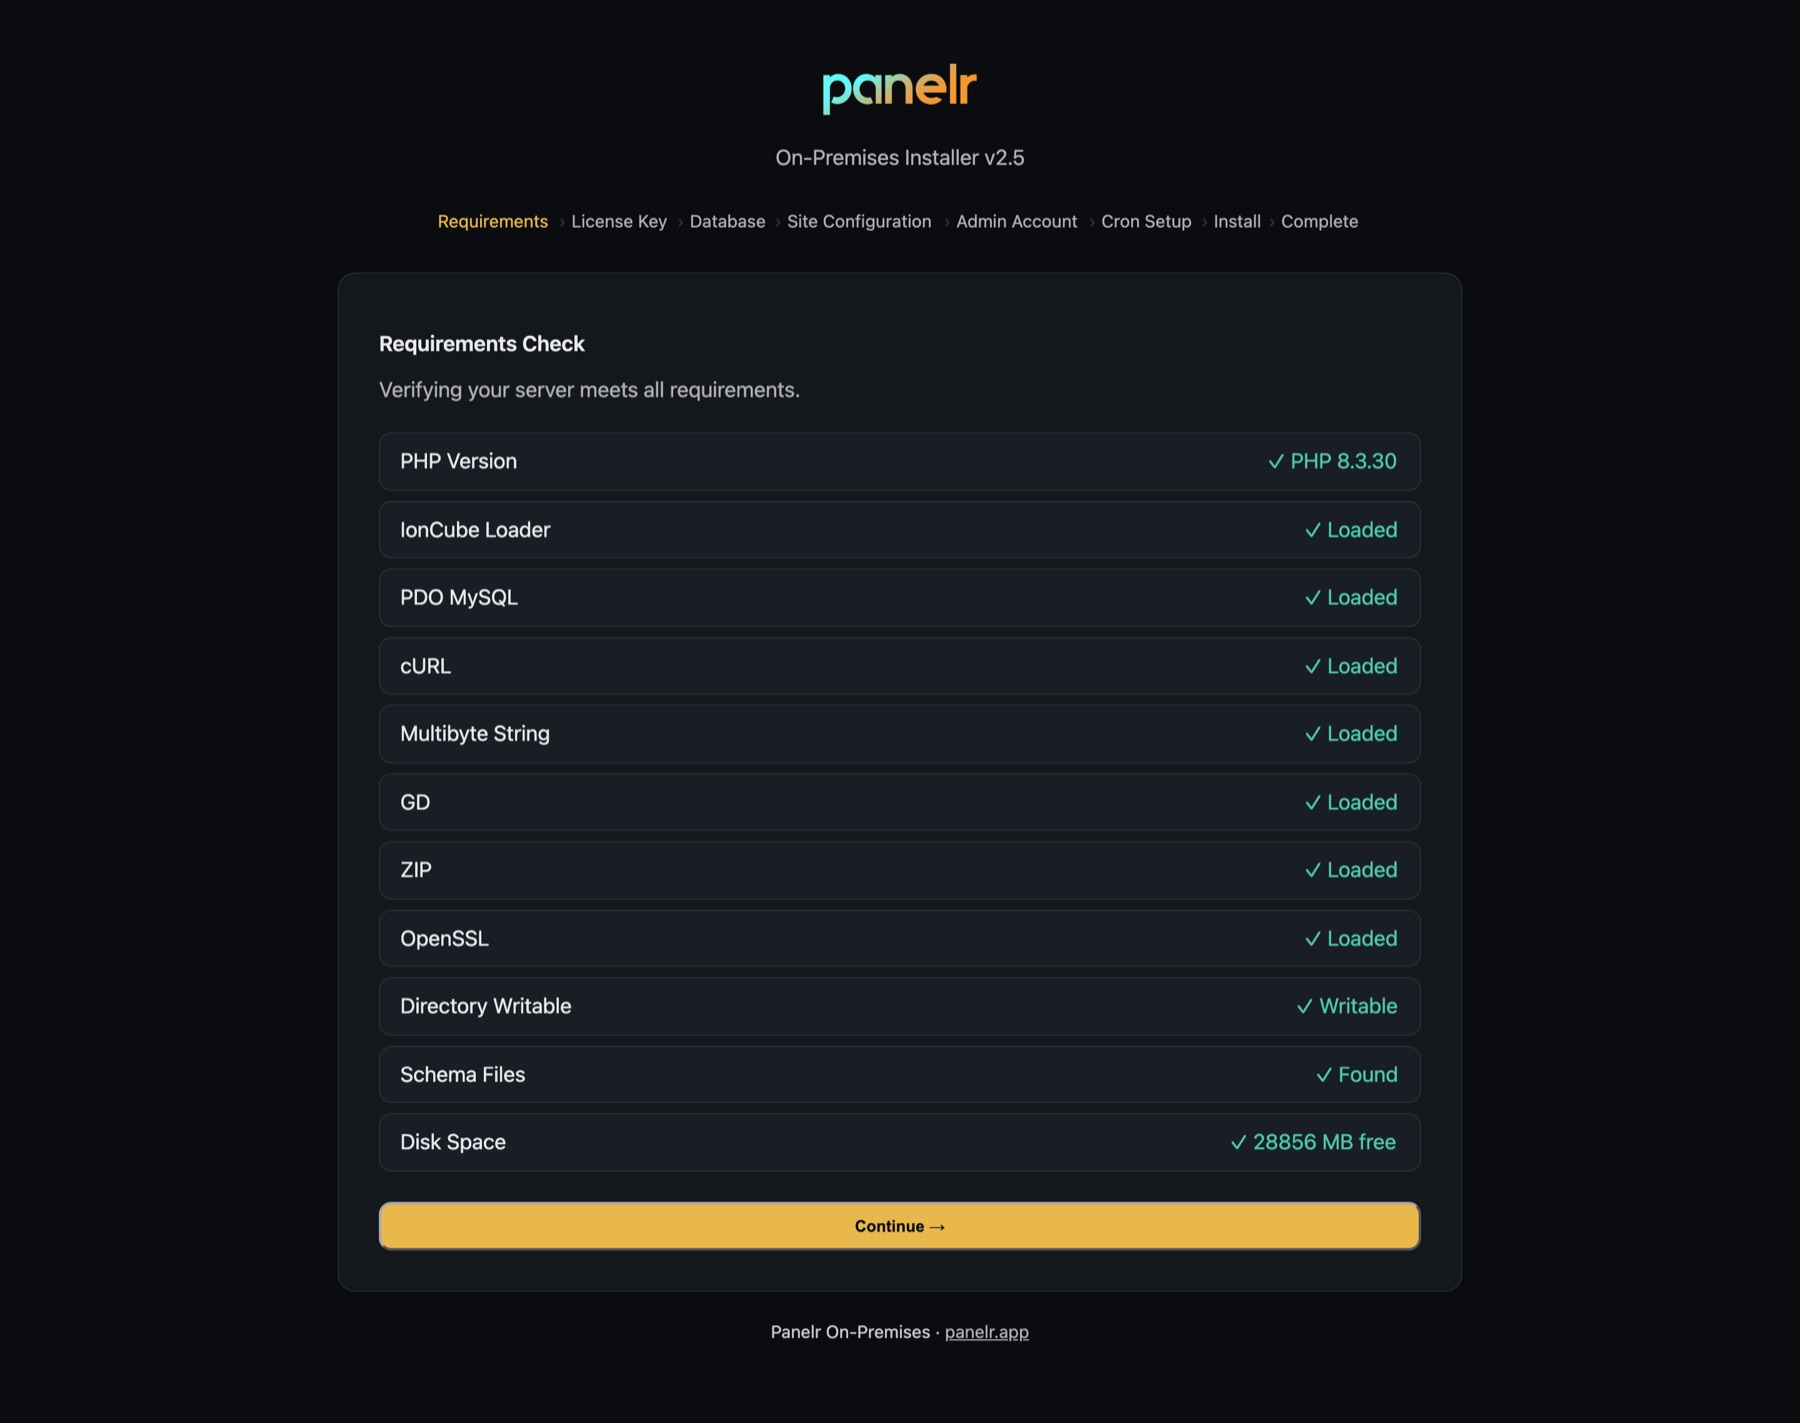
https://yourdomain.com/install(or/yourfolder/install). - Go through the steps: requirements, licence key, database, your store's name and alert email, your admin login, and the scheduled tasks.
- Press Complete Installation.
Scheduled tasks
Panelr does its background work on a timer: setting up paid orders, sending messages and reminders, syncing your panels and the nightly tidy-up. Without them, a customer can pay and never get their line.
The installer tries to add them for you. If it can't, it lists the lines with a Copy button. Add each one exactly as shown to your server's crontab (crontab -e) or your hosting panel's cron page.
Lock it down
- Delete the
installfolder. Until it's gone, anyone who finds it can run the installer again. - Open
https://yourdomain.com/.db_bootstrap. You should see an error, not a file. If you see the file, your web server isn't applying Panelr's rules; Panelr's README has the rules to add for nginx.
Then sign in to /admin. The Setup Wizard at the top of the admin tracks what's left to do.