On-Premises Setup
This section applies to on-premises (self-hosted) installations. If you are using our managed hosting, please skip this section and proceed to Setup Wizard
Installing Panelr (Self-Hosted)
This guide walks you through downloading and installing your Panelr instance on your own server.
Before you begin
Have these ready:
- Your Panelr installation code, found in your cloud.panelr.app dashboard directly above the download link for your installation.
- Your database credentials: the name, username, and password for a MySQL or MariaDB database you've already created on your server.
- Server access via SSH, SFTP, or your hosting control panel's file manager, plus a web browser.
Important: the domain you install Panelr on must exactly match the domain you registered in your cloud.panelr.app account. If they don't match, activation will fail.
Step 1: Download your installation archive
Log in to cloud.panelr.app and click Installations. You'll see a grid of all your installations, with the details for each one shown on its card. Find the installation you want to deploy and copy the installation code from its card — you'll need it during setup. Then click the Download button on that card.
If your archive is already built, it will download to your computer immediately. If it needs to be built first, you'll see a confirmation message and receive a download link by email in about three minutes.
Step 2: Unzip the archive
Locate the downloaded file and extract it. On macOS, double-click the .zip file. On Windows, right-click and choose Extract All. You'll end up with a folder containing the Panelr installation files.
Step 3: Upload the files to your server
Upload the contents of the extracted folder to the web root of the domain you registered. This is the folder your web server serves — commonly public_html, www, or htdocs depending on your host. Upload the files themselves, not the folder that contains them, so that your Panelr index file ends up at the top level of your domain.
If you're using SFTP, drag the contents of the extracted folder into your web root. If you're using a control panel file manager, use its upload or import feature.
Files must be uploaded to the public root (e.g., yourdomain.com). Subdirectories are not supported, but you can use a subdomain (e.g., app.yourdomain.com).
Step 4: Create your database
If you haven't already, create a new MySQL or MariaDB database on your server along with a user that has full permissions on it. Most hosting control panels (cPanel, Plesk, DirectAdmin) have a database wizard that does this in a few clicks. Note down the database name, username, and password — the installer will ask for all three.
Step 5: Run the installation wizard
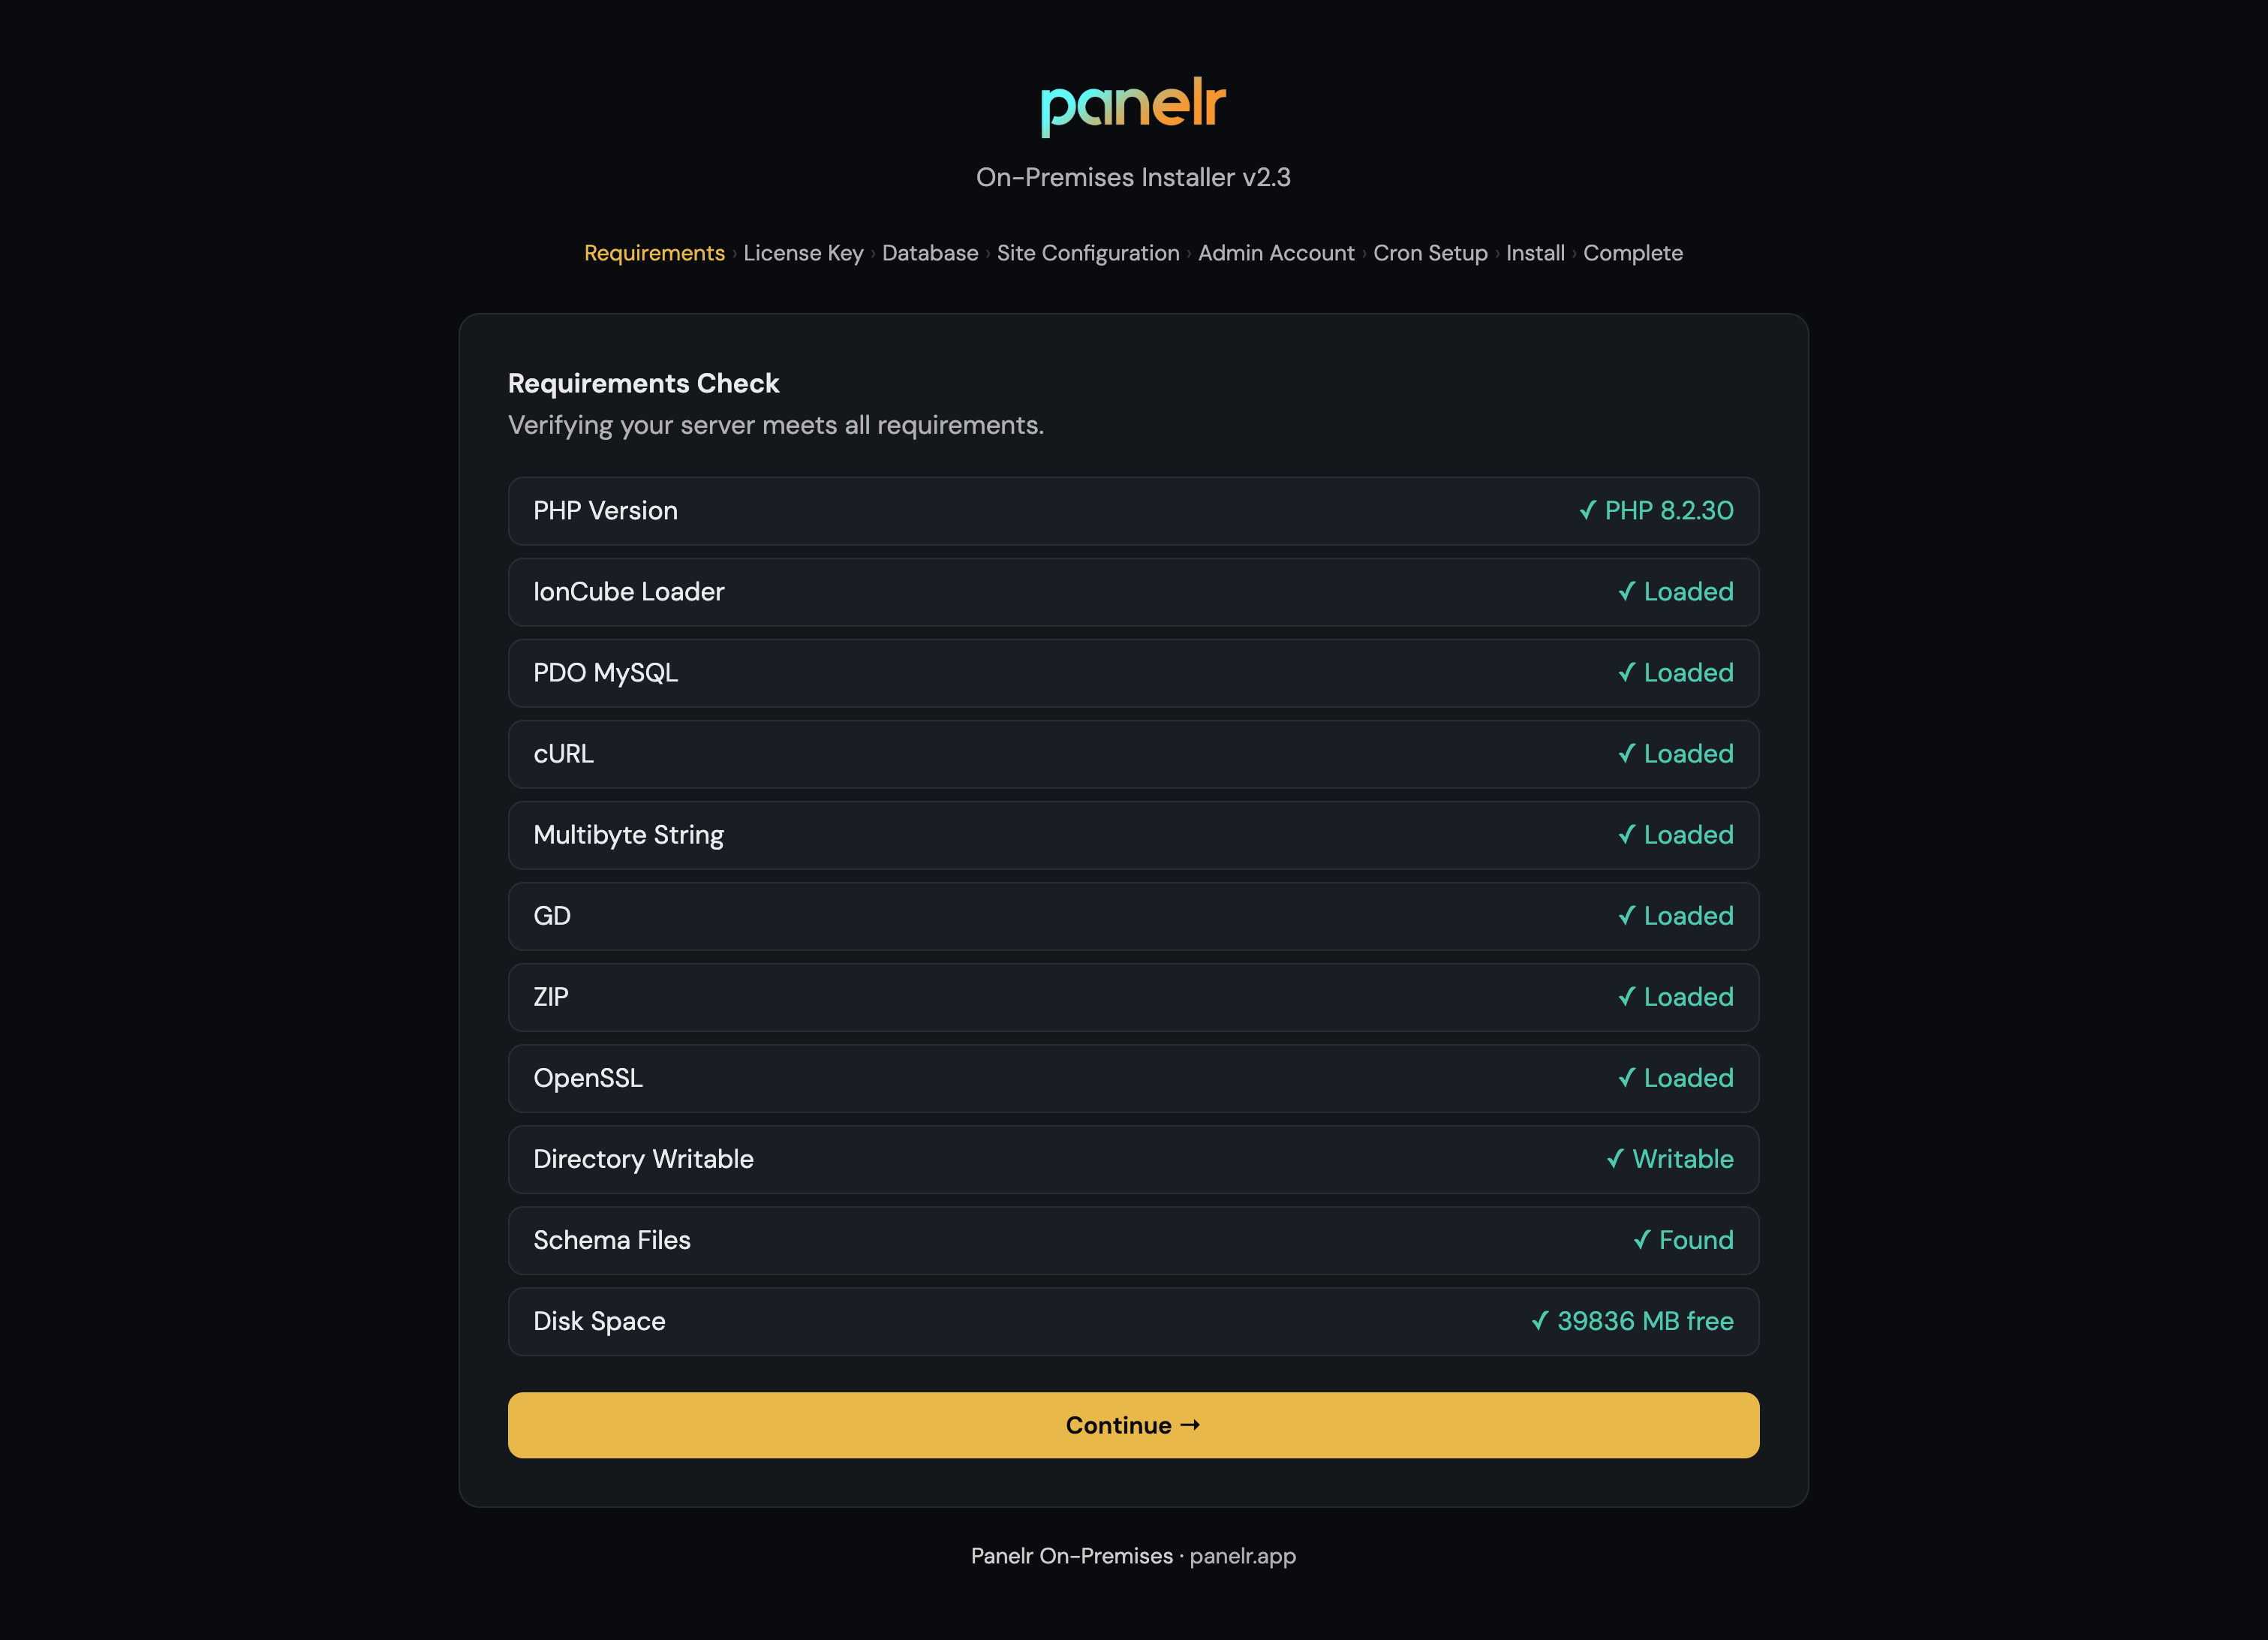
Open your browser and navigate to your domain followed by /install. The Panelr installation wizard will load. First, the installer will confirm your server meets the minimum qualifications.
The wizard will ask you for:
- Your installation code (from cloud.panelr.app, Step 1).
- Your database name, username, and password (from Step 4).
- A few basic settings for your admin account.
Follow the prompts through each step of the wizard. It handles the rest automatically: creating the database schema, applying your initial configuration, and setting up your admin account.
At the end of the wizard, you'll be shown a list of cron jobs that need to be added to your server. These run scheduled tasks like expiration notifications, cleanup jobs, and background processing — Panelr will not function correctly without them. Copy the cron entries provided and add them to your server's crontab (or use your hosting control panel's Cron Jobs tool) before you finish.
Cron job settings are shown only once. Configure them right away or save a copy for later use.
Step 6: Log in
When the wizard completes, you'll be taken to your Panelr login screen. Sign in with the admin credentials you created, and you're up and running.
Troubleshooting
If activation fails, verify that the domain in your browser's address bar exactly matches the domain on file at cloud.panelr.app — including whether it uses "www" or not. If the installer can't connect to your database, double-check the host (usually "localhost" on shared hosting, but some providers require a specific hostname), and confirm the user you created has been granted privileges on the database.
If you're stuck, contact support from your cloud.panelr.app dashboard.